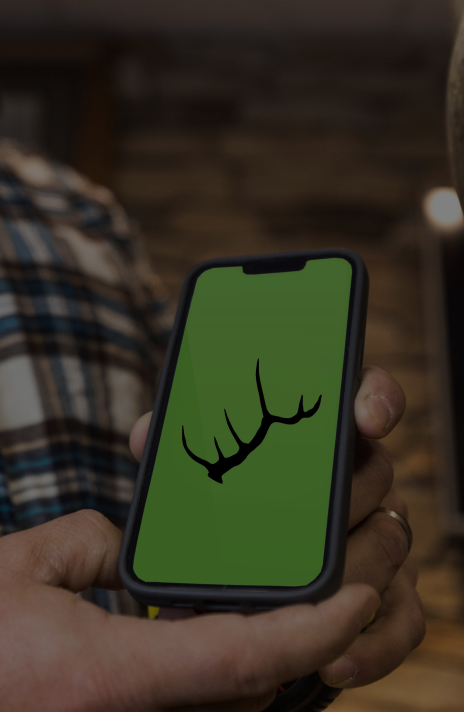
App Instructions
General
- LIGHTING IS KEY – Find a space that has even lighting, avoid direct light and shadows. Even lighting is hard to achieve indoors. For best results, set up photo shoot outdoors, under a shade structure (tree) or on an overcast day.
- Set up object in a way where you have 360-degree access.
Play Video
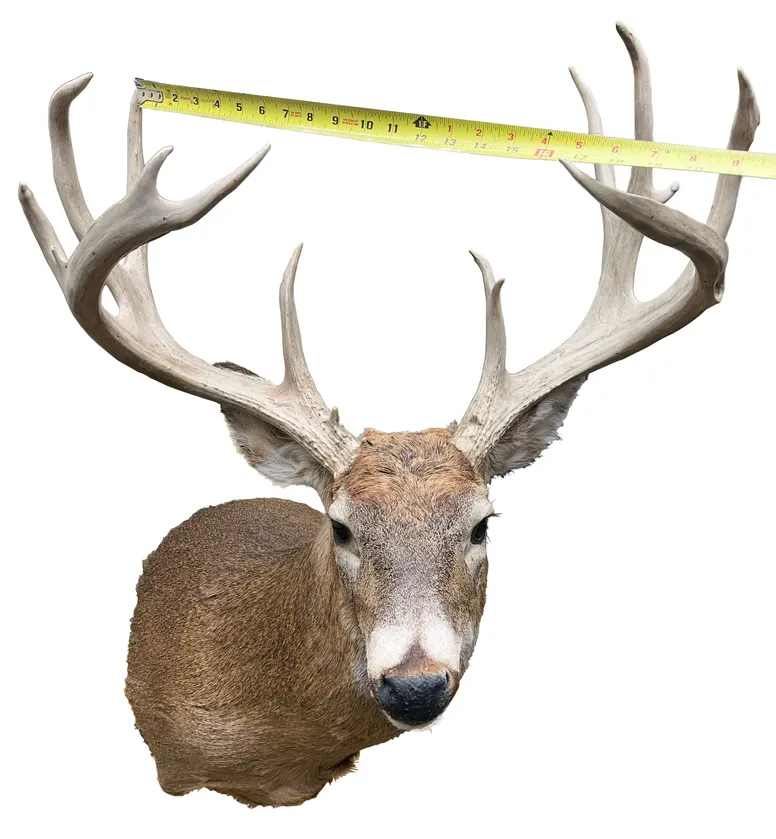
Measurement Image
- Using a tape measure, take a measurement between the tip of two antler points on opposite sides of the rack. If scanning a shed antler, measuring two points on the same side is acceptable. Note: the greater the distance between the points you pick, the more accurate the scale will be.
- When prompted by the app, take a photo of the measurement. Make sure the numbering on the tape measurer and the two points are clear and visible. See example photo above.
Taking Images for 3D Model
- There are two primary purposes for scanning your trophy.
- To create a digital backup for future replication in the event your animal is lost or stolen.
- To create a 3D model that can be shared with friends and/or used in virtual reality (VR), etc.
- If scanning for the purpose of replication, special focus needs to be on the antlers themselves, without worrying about capturing the entire animal (i.e. shoulder mount).
- If scanning for a VR 3D model, be sure to have the entire animal within the frame of each photo. *Note overall scans that include entire animal may lack the detail needed to make replicas of antlers / horns.
- Capture images where the entire object being scanned is visible in the picture frame.
- Always try and maintain the same distance away from the object.
- Work your way around the object taking photos at all angles. Make small changes between photos changing the angle slightly each time. (50% to 70% overlap is best)
- Auto Capture mode can help increase photo quality by only allowing pictures when camera is still.
- Photo requirements: The minimum amount required is 100 photos. The maximum amount is 200.
Uploading and Submitting
- Users are encouraged to review all photos prior to submitting. Delete any blurry or out of focus photos. It is better to have fewer photos than to submit photos with poor quality.
- Leave App open while uploading is in progress. If phone falls asleep, uploading will be paused until reactivated. Do not leave the App during uploading. All progress and uploads will be lost upon exiting the App. Minimum amount required is 100 photos. The maximum amount is 20
Receiving and Saving 3D Models
- After Payment and uploading is complete, Classic Racks Co. will process photos and generate the 3D model.
- Completion of 3D models typically takes about 7 to 10 days. Once complete Classic Racks Co. will e-mail completed models to the e-mail address given in your App profile.
- Save the e-mailed 3D files to your phones “Files” folder
- Within the Classic Racks Co. App go to “View 3D Model” then select the file location saved on your phone. You are now able to view 3D files directly on your phone.
- Files will be automatically saved anytime your phone is backed up to ITunes, Cloud, Etc.